1. Design Model
– Create a fundamental blueprint for the shape and structure of every layer in the 3D printing process.
2. Programming
– After the design is complete, a support structure must be added to the bottom of the model to ensure stability during the printing process. The model is typically placed at a 45° angle. When programming, follow the principle of complex surfaces facing up and be aware of the “cup-like” effect.
3. Slicing
– After the code is error-free, the model needs to be converted into a series of horizontal slices for subsequent printing.
4. Prepare for printing
– Import the sliced data into the 3D printer control software and select key parameters such as printing material type, precision, and support structure.
5. Print
– During the printing process, the print head follows the slicing image to heat or solidify the printing material layer by layer.
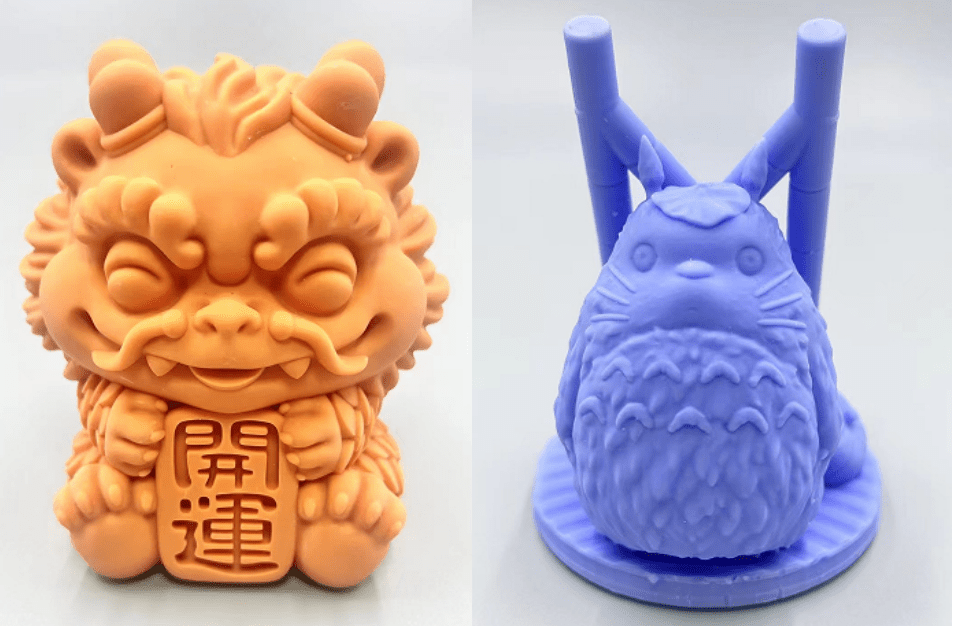
6. Remove the support structure.
– The supporting structure is often made of soluble or easily peelable materials that can be easily removed by means of shear, peeling tools, or water immersion.
7. Surface Treatment
– Sand, polish, or paint the printed object to enhance its smoothness, appearance, and feel, making the product more in line with design requirements.
8. Inspection and Testing
– A thorough inspection and testing of the completed object is carried out to ensure that it meets the expected standards of size accuracy and functionality.
3D Printing Process Flow
作者Mary
需要高质量注塑零件吗?
如果您有一个很棒的想法,我们可以帮助将其变为现实。我们以前做过这件事,并乐于在产品创造过程中成为合作伙伴。从在模具采购过程中为您提供建议,到将您的新产品交付给客户,我们希望在每一步都与您合作。
不断追求进步
我们的优势是我们的灵活性和适应性。我们结合我们的经验和您的想法,推出一步迈向未来的产品。
优质无缺陷生产
我们的愿景是不仅要交付超过客户期望的产品,还要通过与他们在模具设计领域的合作,帮助他们降低成本。
准时交货
我们迫切的希望客户能准时地收到货物,并确保在最短的时间内完成交付。